Graphical User Interface
Run the GUI
lenscraft
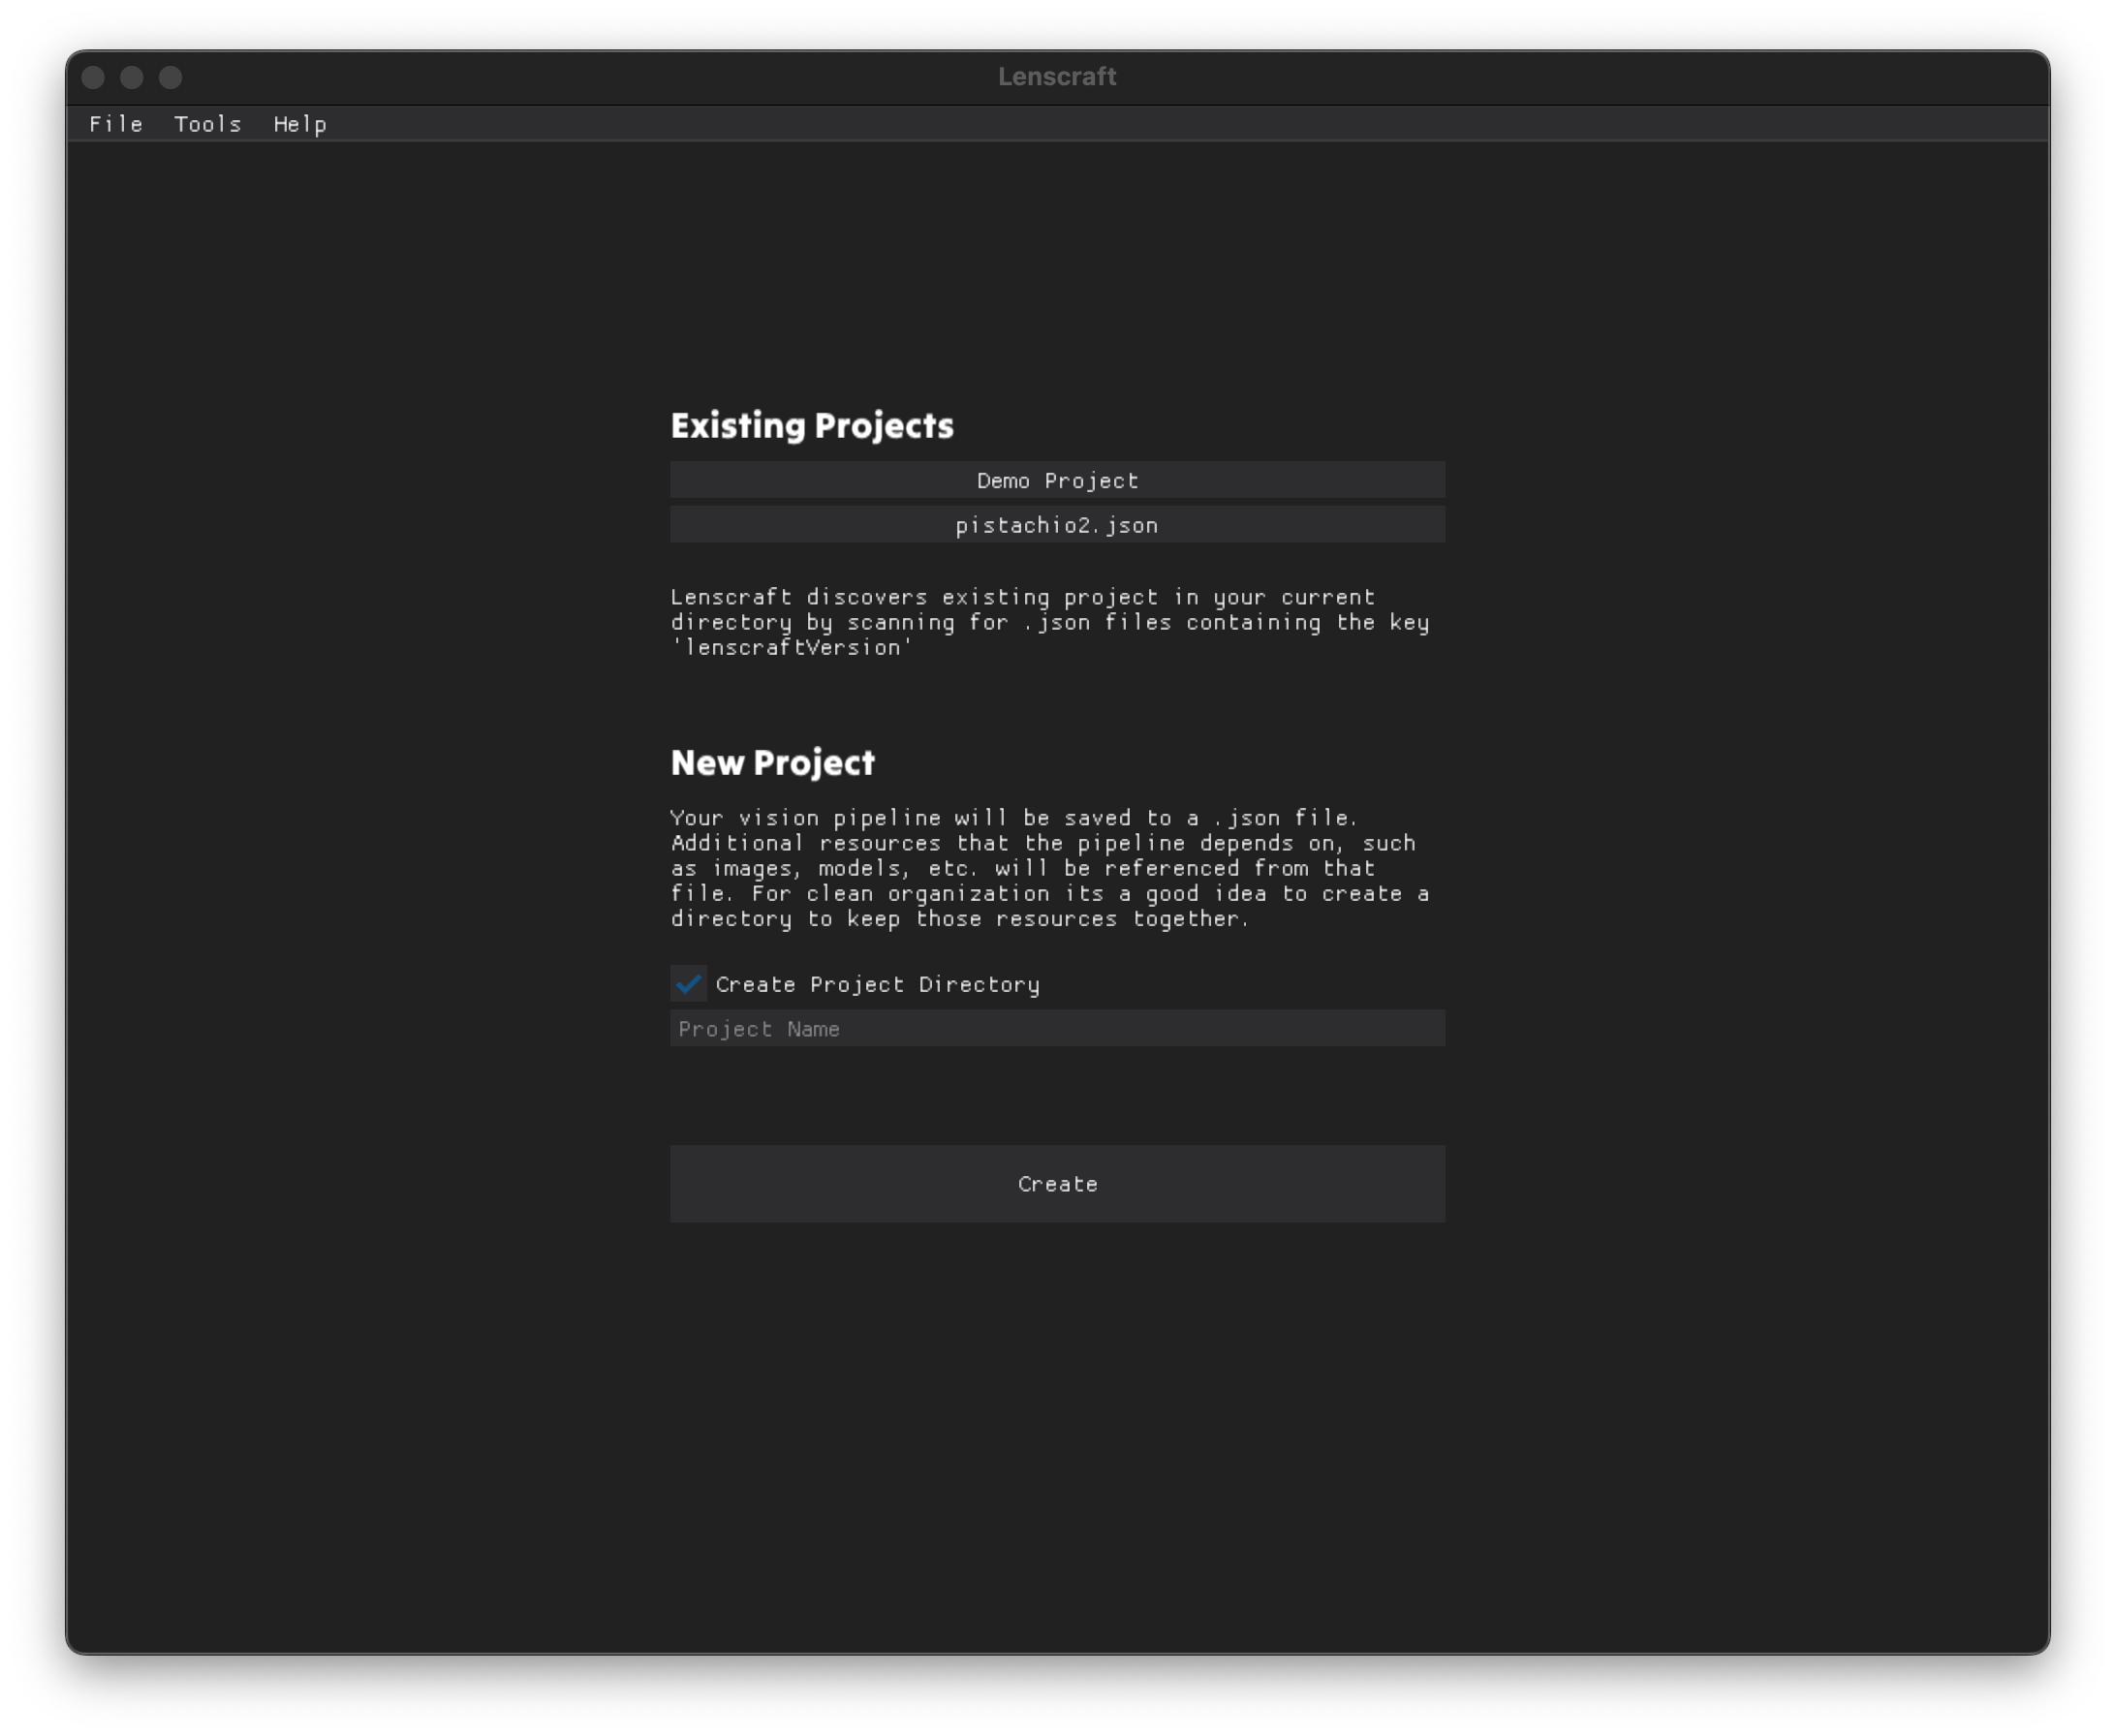
The UI will open in a new window on your desktop. You will be prompted to create a project by giving it a name. A Lenscraft project is just a json file that stores all the information about your vision pipeline.
When you create a project you will be taken to the node editor. This is where you create and test your vision pipeline.

The top horizontal row is where all images in your project will be displayed. This is your Image Library. You can add images by either pressing the big "Add" button or with File -> Add Image.
In the node editor below you will see two nodes. The ImageLibrary node and Output node. These will always be present and cannot be deleted.
The ImageLibrary node is the starting point of your image processing pipeline. In a production setting this might be a frame from a camera. During development you can select one image from your library to focus on. All steps of the pipeline will shown for that one image. You can change the image you want to focus on at any time.
The Output node is the end of you image processing pipeline. It is the result you want to get out. Whatever value is passed into the output node will be returned as the result in your runtime integration script.
To add nodes to you pipeline, right click anywhere on the node editor (the grid) and choose a node from the popup window.
To connect nodes, click and drag from one yellow dot to another. A link will be created, which represents a value being passed from one processing step to another. You can remove a link by Ctrl + Click on a link.
Unfortunately you can not zoom in or out in the node editor, but you can pan around using the middle mouse button.